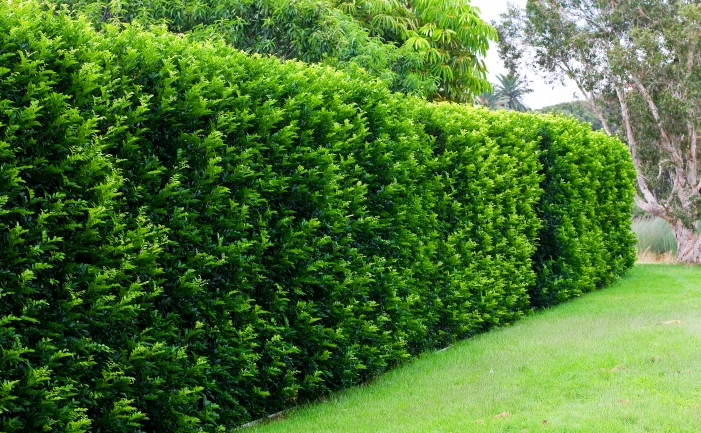
How to Grow a Hedge
One of the most fashionable things to plant at the moment in Australia is a hedge. In fact, hedges have been very popular for a number of years. Don’s step by step guide to hedging looked at plant selection, soil preparation, plant spacing, irrigation and mulching.
Plant selection
The garden in our segment had mossy, badly drained soil, so Don chose plants that would tolerate wet, clay soil conditions.
He decided to use a lilly pilly – a selected form of Acmena smithii called ‘Dusky’. Discovered in the nursery stock gardens of Karalta Road Nursery on the NSW Central Coast in 1998, ‘Dusky’ grows to around 4m (12′) tall. It will tolerate moist soils, moderate frost and can be grown in full sun to part shade. It develops rich burgundy new growth through autumn, winter and spring. Masses of flowers in spring are followed by edible mauve berries.
Another reason to choose ‘Dusky’ is that Acmena smithii varieties of lilly pilly are resistant to the lilly pilly psyllid (Trioza eugeniae). This tiny native insect causes ugly dimpling on the foliage, which is the last thing you want to see on your stylish hedge or topiary.
Preparation and planting
Don dug over the garden bed to aerate and freshen up the soil. To give the plants a good start, he added some cow manure and then forked in some compost.
The next step was to measure the width of the garden bed, set up a string line and then work out the position of the hedge. The normal spacing for average-sized plants is about 1m (3′) apart. To work out their exact positions, Don divided the length of the bed by the number of plants. (Tip: the two end plants should be placed 500mm in, the rest the full 1m apart.)
Don used spray marker paint to mark the position and of each plant with an ‘X’. He extended the arms of the X so that the exact planting spot would still be obvious even after digging the hole.
Once the plants were in the ground, Don gave them a light trim with the aid of a small line level. (Note: a common mistake is to let a hedge grow to the height you want and then start trimming. It’s best to start with a light trim so that they thicken up at the base. Then, gradually let them come up each time you’re trimming until they eventually reach the right height.)
It is very important to put in an irrigation system when planting a hedge. Don installed a drip irrigation system, because these systems are still permitted in many areas with water restrictions (see under Further information below).
Lastly, Don mulched the hedge using sugarcane mulch and watered in the plants. Mulch helps to stabilise soil temperatures in the root zone, it suppress weed growth and it assists with water retention in the soil.
When buying your hedging plants, always buy a few extra. That way if one of the plants in the hedge dies, you’ll be able to pop in the extra plant and the look of whole hedge won’t be ruined.
Further information
Costs
Cow manure, 25 litre bag, about $5
Organic compost, 25 litre bag, about $7
Sugar cane mulch, 1 bag, about $18
Small line levels cost around $10 from hardware stores
Acmena smithii ‘Dusky’ costs about $15-$18 for a 200mm (8″) pot
Netafim irrigation system for this hedge cost about $100
Water restrictions for drip systems
(check with your local water authority for full details)
Sydney: drip systems can be used anytime
Melbourne: drip systems can be used between the hours of 5-8am and 8-11pm
Brisbane: drip systems allowed on an odds and evens basis
Gold Coast: drip systems allowed but not on Mondays
South Australia: drip systems can be used anytime
Western Australia: can be used on an allocated two days per week
Tasmania: most councils have no water restrictions at present