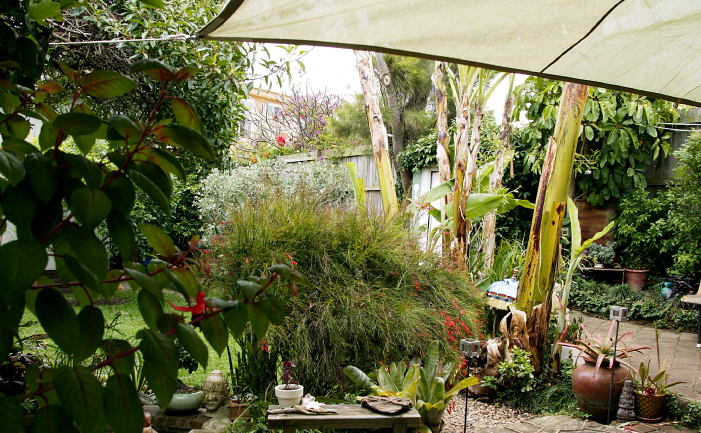
Scott Cam showed how easy it is to install a shade sail in the garden. You can have your sails custom-made, or buy them ready-made. Most shade sails are designed to suit a specific area, so they will vary in size, shape and number. Several small sails may look better, give a more flexible shape and cost less than one large one. Small sails can also be supported by timber posts whereas larger sails will need strong steel posts.
Here are Scott’s step-by-step instructions for erecting one triangular sail.
You will need:
shade sail
3 eye bolts
3 stainless steel turnbuckles
cordless drill
drill bit to suit eye bolts
3 treated pine posts (100mm square x 3600mm, rated for in-ground use)
3 bags rapid-set concrete
shovel (scissor or post hole shovels are best for this job)
Note: if you are using a large sail, you may need steel rather than timber posts. The manufacturer can advise you.
Step by step instructions
- First, go out into the backyard on a sunny summer’s afternoon. Observe where the sun is coming from and identify surrounding objects (such as trees or nearby walls) that will provide shade. Decide which areas need the most protection from the sun (for example, the children’s sand pit, a seating area, the swimming pool). Measure up the area you want the sail to cover, and then draw a diagram for the sail maker.
- Take your diagram to a sail maker or canvas manufacturer who will make the sail for you, and can also supply the stainless steel turnbuckles you’ll need to erect the finished product. Scott used treated pine posts because his sail was small. However, steel posts might be required depending on the size of the sail.
- Set the sail out on the ground in the position where it will eventually be installed, and wind the turnbuckles out to their full extension. Mark out on the ground the ends of the turnbuckles. This is the position of your posts. It’s important to angle the posts out slightly away from the sail, to take some of the strain of the tensioned sail. Angle each post out about 10 3. °, so the post hole must be brought in about 100mm from the turnbuckle end point, towards the sail, to allow for that 10° lean.
- Dig three post holes about 900mm deep. As a guide, if your sail is to be 2500mm off the ground, buy posts 3600mm long. This allows some extra timber at the top, above the eye bolt.
- Position the posts in the holes, remembering to allow for the 10° lean. Half-fill the holes with water, pour in the rapid-set concrete and mix. As you position each post, hook up each corner of the sail as you go, making sure you’re not leaning the post too far away from the turnbuckle. Adjust if necessary. The concrete should start to set within 5-15 minutes, and you should be able to tension up the sail after about 4-5 hours.
- Determine the height of the sail and drill holes to suit your eye bolts on each post. Fasten the eye bolts to the posts, and hook the corners up. Finally, tighten the turnbuckles until the sail is taut.
Note: If you live in unprotected areas of high wind or you have sandy soil, your sail may need extra support. Before erecting the sail, seek advice from a structural engineer.
Further information
Scott Cam’s instructions for erecting a shade sail are in the November edition of the Burke’s Backyard magazine, available at newsagents for $4.80.
Our sail was made from a pre-constraint top grade vinyl (Ferrari) with a 10 year guarantee. It cost approximately $550, plus hardware:
- 3 x stainless steel eye bolts @ $10
- 3 x stainless steel turnbuckle @ $30
- 3 x stainless steel D shackle @ $6
- Stainless steel cable $6 – $8 per metre
Our sail came from:
E.H. Brett & Sons Pty Ltd
67 Carnarvon Street
Silverwater NSW 2141
Phone: (02) 9648 5622
Web address: www.brettproducts.com.au
For other manufacturers, check under ‘Canvas & Synthetic Fabric Products’ in your Yellow Pages.
Scissor or post hole shovels cost $80 – $85, or hire one from an equipment hire firm.


